10 Tips On How To Merchandise Your Store By Youself
One of the major aims of Visual Merchandising is to ensure merchandises are moving out of the store being purchased by customers. Are you looking to learn how to create merchandising displays that draw your shopper's interest and sell more merchandise? Do you feel you don't know how to organize merchandise effectively? Does the front of your store resemble a yard sale more than a going retail space? Are you looking for the do's and don'ts of inventory management? Follow me as I take you through the 10 process on how you can merchandise your store: 😊
1. Change your displays monthly .
Holidays and seasons only last so long, and promotional goods have a short shelf life. Feature new arrivals in your store layout first.
If you ordered product meant to go together, keep it together. You don’t want its first appearance to be diluted. Later, the few items that may be left can be grouped with new arrivals to give them a new look.
If you ordered red Valentine candles from one vendor, mugs from another, and teas form another, wait for them all to arrive. Don’t put the candles out first as a sole item and lose the potential add-on-sale.
2. Show off the wants.

Don’t choose to highlight products the customer already have needs of those things they are what they are coming in for. A customer responds to product displays of items they want.

For example, don’t display the cheap hand mixer when the fancy Kitchen Aid is what everyone's desire. Just because they need a mixer, doesn’t mean they won’t treat themselves to the expensive model if it is displayed well.
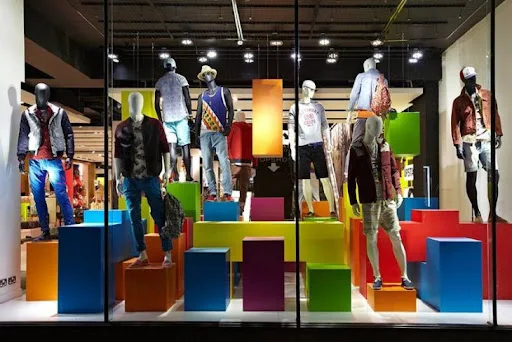
3. Look for one thing that makes a group .

4. Start closest to the door.


5. Pig in the window.

Find a totally unrelated item and put it in your display. It serves as a prop. Its only purpose to grab your customer’s attention. Add a stuffed toy pig to complete your Kitchen aid display. It is not necessary to add a prop to every display, but the idea should always be there.
The display in the picture above shows two standing female mannequins and also a shoot out pig one onside another hanging at the corner top, if you notice well well, there is a toy sunglasses handing on their face, they signify something, They make the customer ask themselves, "Why is that there?" They are intrigued by your visual merchandising picture and come in to your store to learn more.
6. Showtime.

Light your display like it’s important. Adjust overheard lighting.

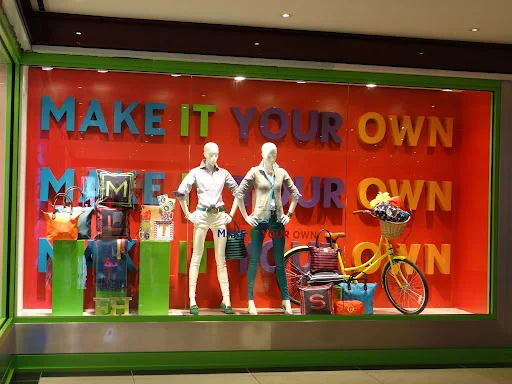
7. Put words to it.

Add a few well-placed, well-worded signs - even on store fixtures . Make sure they are short and easy to read.


8. Rotate them.
Move existing displays around the sales-floor when new merchandise comes in. Since the fairly new inventory will still be selling, switch your store layout two weeks after their arrival. Move one from the front to the middle of the sales floor and the other from the middle to the back.
9. Track it.
Monitor your computer printouts and inventory levels weekly . If something really takes off, be prepared to reorder these best-selling products immediately. If you have sold through your inventory and you have no back stock, change your visual merchandising plan to something you have plenty of. If something doesn’t sell, try moving the same display to another location or incorporate different product placement before giving up on it.
10. Tag it.
Make sure all of your product is priced. No one wants to have to ask how much something is, I bet you customers don't have such time.
These are by no means all the ways on how to organize merchandise into your silent salesperson but they form a foundation that any retailer or small business can use to bump sales. Be careful too that your floor plan remains open and aisles are easy to walk down. Customer service extends to the ease with which they can navigate around your stellar displays.

.jpeg)
Comments